Tuesday, 11 February 2020

Day 10 - starting on head swivels

What I did today:
Today I started on the head animations, I started with just the side to side movements. I decided to try a different way to work on keyframing. Instead of doing all the keyframes and then doing a lot of fine-tuning I will be doing as much as I can in one section and then move on to the next section, and then if I notice later on something that I feel like needs to be changed or added it will be less work for me then. My total starting frames is 150, but I may change it as I go on.

I started off by using the neck 'line bone' to move the head

The neck is the main point the controls the heads movement so using this bone is the best method to move the head how I want it.
I first got a keyframe of just the neck at the start of the animation with it in a neutral forward position.
I then rotated the head on the y-axis by pressing R and then Y. I rotated the head slightly but not completely to the side as I don't want the animation to look forced. I keyframed it on frame 25.
I did the same thing on frame 50 but rotated the head the opposite way.

After testing out the animation it felt too fast so I decided to increase the total frame count from 150 to 300 and move the frames over so that frame 25 is now on frame 50 and frame 50 is now on frame 100. Doing this slowed the animation down to the point where it was still fast enough to look normal but also not too slow to the point where the animation looks like it's in slow motion. 

I then pressed Shift+D on the first keyframe on frame 0 and duplicated that frame to frame 150. This gives the animation a good stopping point from the side to side and a good transition point to the next section of the head going up diagonally.


This is the animation with the first section done, the framerate of the recording is a bit less because of my laptop's capabilities. The first section so far had come together pretty well.

What I'm doing tomorrow:
Tomorrow I will be working on the next section which will be a bit harder putting the head in a diagonal position because of the rotations needed. I'll try out different positions with the x and y-axis until I get the position I like.


Monday, 10 February 2020

Day 9 - New project - head animation

New Project:
For my next animation project, I'll be doing another smaller animation but it will be a bit harder than the arm animation, at least in my eyes. My next animation is an animation of a head moving side to side and diagonally up both ways, I'll probably add more as I progress.

I'm going to be doing this without a tutorial but I will be using a reference.  The reason why I'm not using any type of tutorial for the head movement is that there aren't any that I could find online, but it shouldn't be too hard and I'm confident in my ability to do this without a reference.  If I decide to do facial animations later on then I will use a tutorial for help because they are more complex and it would be easier with a tutorial.

For the head itself, I'm using a model that I downloaded off of blend swap.com
Head model link
This model instead of major bones has a more detailed rig where the bones are what I refer to as "line bones"


I decided to do this animation after a lot of research and viewing different animations made in Blender on Youtube, and decided to do an animation on heads facial movement. The facial aspect will probably be my next project after this one.

The model that I chose also took me a bit of time to pick as I wanted a model with good a good head and facial rig as I didn't want to make it myself because I do not know how to rig a character. I looked threw many different websites for a model that met my criteria and tested a few but not many where good for me to do the type of animation I want to do.

For the reference, I'm using a reference of my own head moving in the motion I want.

This is the reference I'm using, it's mostly for the basic head movement.

What I'm doing tomorrow:
Tomorrow I'll be starting the project and will start with the side to side animation of the head.


Friday, 7 February 2020

Day 8 - Finishing the arm animation and Final render

What I did today:
Today I finished up the animation for the arm and rendered it as well. For the last additions in the arm, all I did was make certain keyframes that were a bit robotic move more naturally. I'll also show how I render animations in Blender.
When the arm going downwards to the palm up position it looked a bit robotic so to fix this I deleted a keyframe on frame 60 for the bicep that I originally made as a middle spot for the arm when it was going down. Deleting this immediately fixed the problem.
There was also a small problem where the arm on frame 50 would stop very robotically and then keep moving, it only happened for a split second but it was very noticeable, so to fix it I increased the slop on the y-axis rotation point on the graph editor.
I also added in some small movements in the wrist to give it a bit more motion because I noticed that when an arm in real life does that motion, the wrist slightly moves up and down.
Once I had finished up all the small adjustments I was ready to render. To start the render process you first have to go to the output side tab that is labeled with the printer logo.
Then go down to the output tab and first change the file format to AVI Raw and then by clicking the folder logo find a place to save the animation.
Then at the top, there is a tab labeled "Render" by opening that you press render animation
Then Blender will start rendering the animation frame-by-frame and then automatically save it to the chosen save location.


This is the final render for the arm animation. I did this project to first improve my animation skills on smaller objects and then slowly move my way up to larger animations. I really like how this animation turned out even though the rig isn't the best and limited how well the hand-animated. Even threw these challenges the final product I believe looks really good and accurate to the reference I used.

What I am doing on Monday:
On Monday I will start my next project. I already know that my next project is going to be a smaller one but I'm not completely sure yet what it will be and will think more about it over the weekend. The reason my next project will be smaller will be because I still want to start off slow and make really good small animations then really poor made big ones.


Day 7 - Making better timing and looking more natural

What I did today:
Today I made changes in the pause when the hand is making the fist because previously it was forming faster then I wanted, so to fix this problem I increased the frame count at first to 200 and then to 170 after messing around with the timing. I also made keyframes of the fingers slightly bent in different areas to make the animation look more natural.

I moved the frame of the hand closing to frame 90 from frame 75 where it was before.

I also spaced out the last few frames because I wanted there to be a bit slower near the end.


I also went in at points where the fingers were straight and bent them a little because in an actual hand the fingers bend naturally. fingers aren't usually naturally straight and outstretched, so by bending them, it made the animation a bit more natural.

I did this at every major arm movement, with some being a bit more closed than others depending on how the movement is in real life.

I also bent the wrist a bit at some points such as the 90-degree point to give the arm a more lazy motion feel to it.

I also added some wrist motion in the keyframes where the arm is coming up towards the 90-degree point.

From what I did today the animation has started to look pretty good and accurate to the reference I used. It is still a bit robotic but I think that can be fixed with some movement of keyframes as well as some work in the graph editor.

What I'm doing tomorrow:
Tomorrow I'm going to be finishing up this animation and will try to make it lass robotic before I fully render it out. I will also show my process for rendering animations, and how to do it. I will also post about what my next project will be tomorrow.

Wednesday, 5 February 2020

Day 6 - Finger and hand animating

What I Did Today:
Today I worked on making the fingers turn into a fist when the arm goes palm-up position. All I did was make the keyframes so that the fingers would move, I didn't do anything in the graph editor.

The first thing I did was select the bones of the fingers, unfortunately, the arm model I downloaded didn't have the best rig for the hand so there is only one bone per finger instead of being segmented into three how a normal finger would be. The biggest problem this presents me is making the fingers turning into a fist look as real as possible when moving.

The next thing I did was fold the fingers inwards into the shape of a fist. 
The fingers now just need to be positioned better into a fist position which I do individually for each finger.
Next, I set the keyframes for the fingers.
Next, I repeated the steps I did with the fingers but with the knuckles and thumb.
I also made the palm come up a bit so it would make up for the poor rig and lack of proper finger articulation. I did all of these movements on frame 75 which is the pause I added when the arm is palm up.


So far the arm is looking good but the fist forms a bit too fast which I'll fix tomorrow and I already have an idea of how to do that.

What I'm Doing tomorrow:
Tomorrow I'm going to extend the time it takes for the fist to form so it looks a bit more natural, and I'm going to do this by increasing the number of frames it has to form. By doing this, it also means I'm going to have to increase the total number of frames again, meaning I'm also going to have to move half of the keyframes over to the left by 10-20 frames to create the long pause for the fist. I'm also going to add smaller animations to the fingers while the arm is moving to make the fingers look less stiff.

Tuesday, 4 February 2020

Day 5 - Fine tuning large movements

What I did today:
Today I worked on fixing some speed issues in the arms movements and some problems where the arm was jittering and it didn't look good. I did most of the work in the graph editor as well as just moving the arm in a better position so there would be no problems.

This what the animation looks like, before any of the changes I made today, the jittering is mostly when the arm comes to the 90-degree angle the first time. The speed of the arm when it is coming back from the palm-up position is also a little too fast, I wanted there to be a slight pause so that there would be time for the fingers to flex.

I didn't explain it before, which I should've, but the keys to move something is the "G" key and to rotate it's "R". Also to move or rotate something on a specific axis you have to press "G" or "R" and the press either 'Y, X, or Z' which corresponds to either the y, x, or z-axis.

The first thing I did was I rotated the arm on the x-axis a little bit to fix the arm swaying a little when it was going downwards.

After that, I rotated the arm on the z-axis when it was straight with the palm up because the arm was a bit crooked. 
I did the same thing on the arm at frame 85 as I did on frame 50 where I just rotated the arm a little on the x-axis.

To increase the time the arm is in the palm up position I duplicated the keyframe and stretched it out on the graph editor to lengthen the delay. The only problem with this was that this lead to the arm jolting upright because now there weren't as many frames between the arm down and the arm coming back up. So to solve this I moved over the frame 85 keyframe to frame 95.
Moving up the keyframe on frame 95 made frames 100 and 110 faster so I slowed those down as well by moving them over by 10 frames and increasing the total frames to 145 and moving the ending keyframe to 145.

This is a photo of frame 95 and after messing around for a bit with the graph editor, I found the good way to create small delays or slow down an are was to press "S" to scale the keyframe down on the graph which in turn would lower the steepness of the curve on the graph which would slow down the movements a bit.


This is the best I feel I can do to make the big movements as good looking as possible, there are still some parts that look a bit robotic but once I animate the hand and wrist I feel like the arm will look more natural.

What I'm doing tomorrow:
Tomorrow I'm going to start with the fingers and the wrist animations. I'm going to have the fingers flex into a fist when the palm is face-up, and then also animate the wrist so that it moves around just like a normal wrist does when moved in the motion I'm doing.


Day 4 - Duplicating keyframes

What I did today:
Today I worked on the last few keyframes for the animation of the arm. Right now I have up to the point where the palm of the hand is facing upwards but I'm going to make it go back to its original, palm down position. I did this by duplicating the keyframes I had before and moving them to the frame I wanted the position to be at. Then I just moved the positions around a bit to make it move smoother and look more natural.

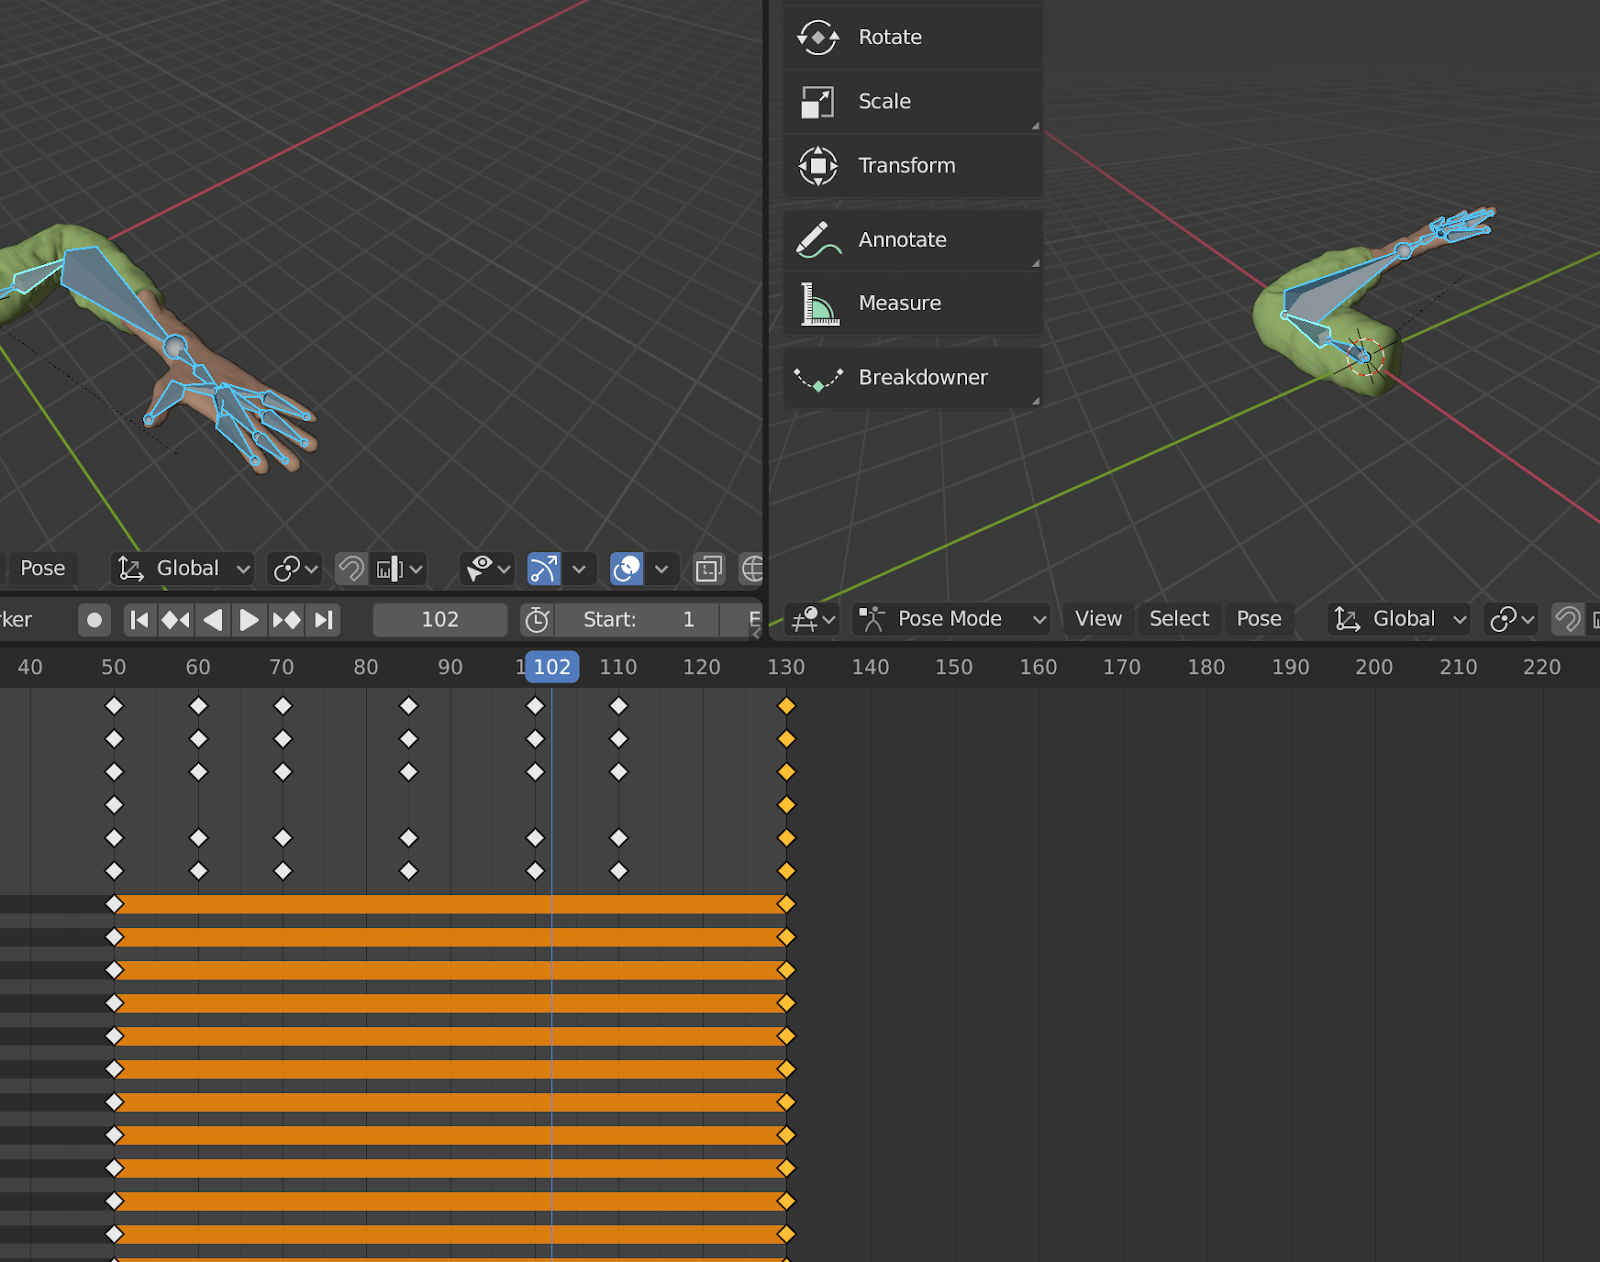
First I duplicated the keyframes for the forearm and bicep with the arm on the 90-degree angle by selecting the keyframes and pressing Shift+D
Then I moved it to the 85th frame so that there would be a bit of delay before the arm comes back up.

Lastly, I readjusted it as it shifted over a bit because it wanted to move towards the last keyframe which is the arm palm down.

After moving the points for the arm going up I did the ones for the arm going down which were on frame 20 and 30. I duplicated those ones as well by pressing Shift+D and moved them to frame 100 and 110, with frame 30 duplicated to frame 100 and frame 20 duplicated to frame 110 so it would be playing in reverse and the arm would be going downwards.

After this, I realized that the arm was going down very slowly which was due to there being 40 frames between the last moving arm position and the end which slowed down the end. So I moved the last frame from frame 150 to frame 130 and also reduced the max number of frames to that as well. After this, it was still a little slow which made me decide to reduce it down to 125.


This is the animation so far with all the large basic arm movements done.

What I'm doing tomorrow:
Tomorrow I'll be trying to finetune the large movements that I have even more with the graph editor and then hopefully move onto moving the fingers and the closing of the fist when the arm goes into the palm-up position.