Friday 28 February 2020

Post 19 - Rendering head animation

What I did today:
Today I rendered the animation using the same technique I used last time, except for two differences.

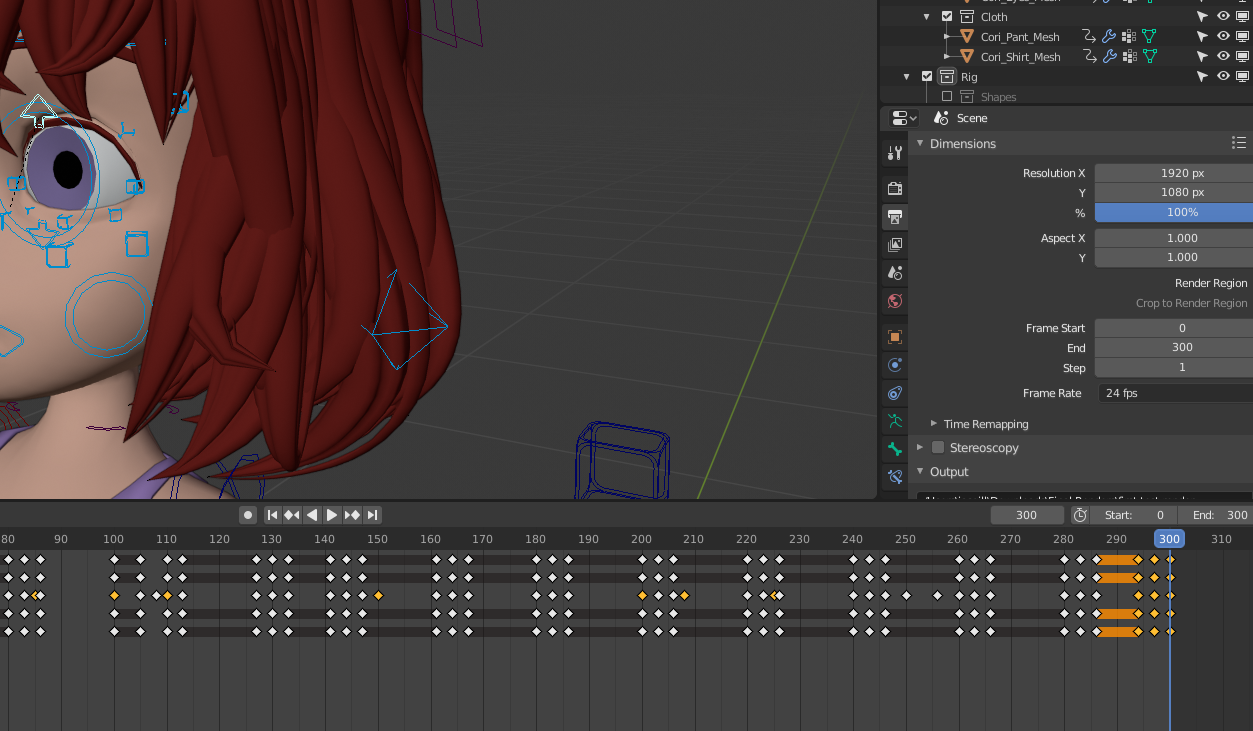
I first started off by going to the side tab and pressing the printer tab which means output. I then change my framerate to 24 frames from the 30 frames it was before. This was just my personal choice as I didn't want my render to take too long to load.
Then scrolling down, I pressed the file button and chose the name and destination for the file. The difference from my arm animation and this animation was that when I chose my file format instead of choosing Avi Raw I chose FFmeg Video as I found this is better for making animations and videos in Blender.
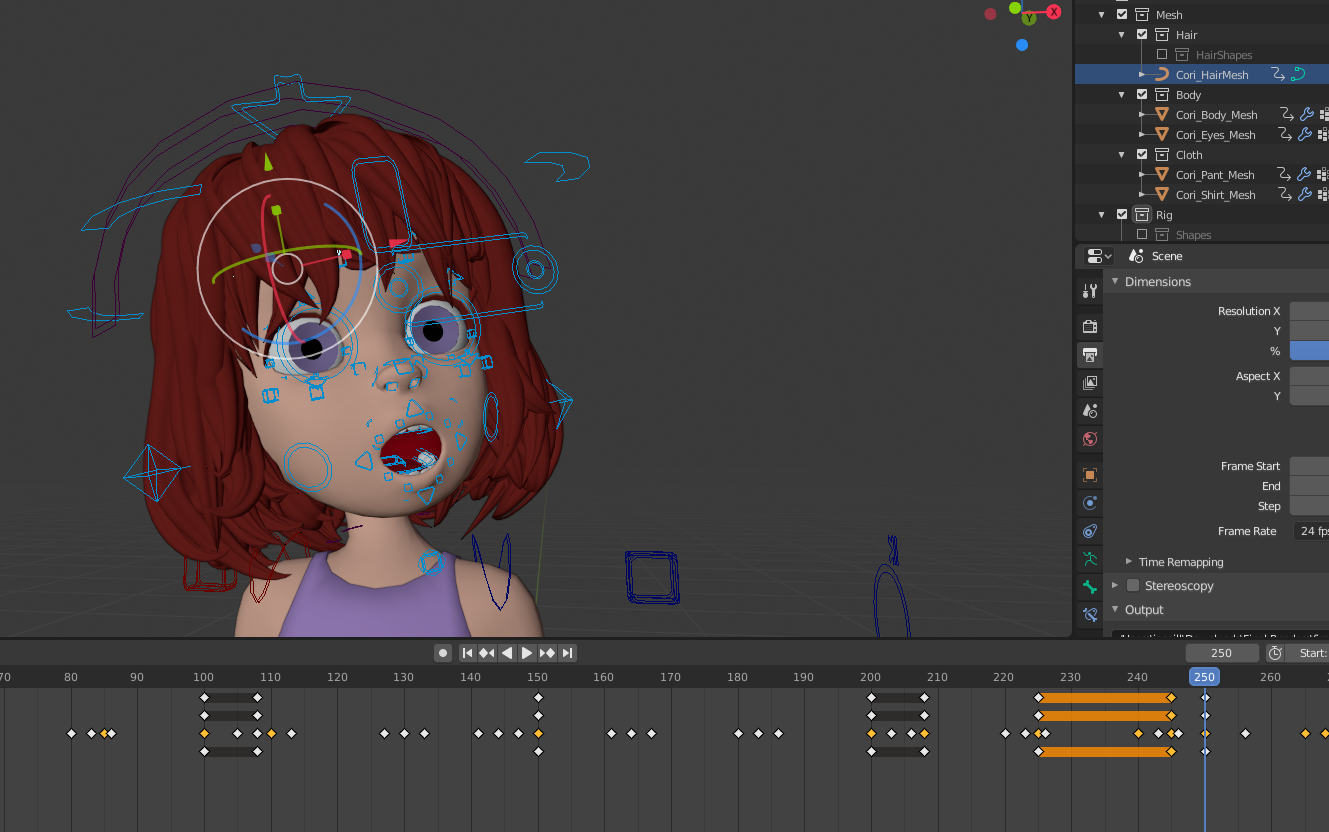
I then went to the top right corner where the four circles are and changed from the full shaded circle which was the viewport object mode where nothing was rendered to the glass-like circle which is rendered mode. I changed to render mode to see a quick rendered preview of the character.
This is what the rendered view looked like for me.
Finally, I go to the top left corner and click on render. From there I go down and clicked on render animation.
After that, I waited as it rendered each the animation frame by frame in a window of the final rendered animation.


This was the final animation rendered.

How I felt about this project:
I enjoyed this project as it challenged me with animating objects I had not animated before and had me make use of references more so than usual. The thing I found most difficult was the animation for the hair as it a very hard thing to recreate due to the randomness of hair, even still I do not completely like how it turned out, but I am still highly satisfied with the total result of the work I put in.

What I'm doing on Monday:
On Monday I will decide on what my next project will be, I will give thought to it over the weekend but I think that I want to do a body animation like I did for the arm animation but have it be more difficult than last time.


Thursday 27 February 2020

Day 18 - hair movements

What I did today:
 Today I worked on the animation for the hair. So farin the animation the hair has been static, but when the head moves the hair on a persons head will also move but in its own unique way. The hair movement is random but has a general direction to it, as well as small bobs and sways inbetween movements. These smaller movements and directed randomness is a bit hard to replicate in Blender but with some experimentation of different movements it will become easier to create the desired effect.

I first started by making a neutral keyframe on frame 0.
I then made a keyframe on frame 50 with the hair moved, I also duplicated the neutral position to frame 45 so that the hair will move only when the head starts to move.

Next I made a neutral position on frame 80 to so that it would change back after the head moved back. I also moved the duplicated neutral position from frame 45 to frame 35.

I then did the same thing on the other head turn and made the keyframe on frame 125. and then made a neutral position on frame 150.

Then just as I duplicated the original neutral keyframe, I duplicated the frame 80 neutral position so that it would start as the head started to move.

For the first up head tilt I moved the hair so it would go downwards and a bit forward, and keyframed it on frame 200. I also duplicated the frame 150 neutral position so the hair would move later on, and put the duplicate on 170.

Because thehead pauses for a bit when looking up I also paused the hair so that the hair lasts as long as the head pause. I also made a neutral position on frame 230.


I then repeated the same things I did for the last head tilt for the other head tilt, The hair is keyframed on frame 250 and uplicated to frame 257.  And also keyframed the last neutral position on frame 300. For the head tilt hair animation I didn't need to duplicate the neutral hair keyframes because there was no pause between the movements of the head tilts.

I then started on the bangs for the charavter at the front. I first made a neutral keyframe on frame 0.
I copied the areas for the keyframes from the other hair piece. And also made the duplicates the same as the other keyframes.
For the front hair I copied the movements from the previous hair keyframes and made them the same but because the hair movement for the front is a bit more subtle there wasn't as much need for pauses in the hair as the other ones.
The front hair was challengin to do for the upwards head tilts because the hair would clip into the character and go into the eye. To get around this I moved the hair slightly forward and a bit more to the side the larger hair piece, but not too much so it would not seem different from the rest of the hair.


The animation I belive is done now, because there doesn't seem more I can do without overworking this animation. The reason in the video the animation is slow is because it takes up a lot of processor power, but it is better then the mac recording because it shows each of the frames just slower then it would be normally if it was rendered.

What I'm doing tomorrow:
Tomorrow I am finishing this animation and rendering the animation. I will show how I do this for this animation but it is pretty much the same as the animation.


Day 17 - Working anger and shocked expression

What I did today:
Today I finished up the anger expression and added small nostrils flares that I wanted to add at the end of my last post. I also finished the shocked expression. For today's post I worked on my better home computer, which helped a lot with the preview for the animation.

For the anger expression, I wanted to add some nostril flares which add a bit to the expression.
I first started by adding a neutral keyframe on frame 0

I then keyframed the nostril flare on frame 200 which I then moved to frame 190. I flared them by pressing 'S' and scaling them up. 
I duplicated the neutral position on frame 0 and moved it so it would stay the same until frame 170 where it would slowly start moving into the flared position. I also made a duplicate on frame 215 of the neutral position so it would end on frame 215.

I then added more blinks until the end and made it so the eye would be open at the end which would create a perfect loop.

Starting on the shocked expression I first opened the lower jaw into an open position. After this there is no more to do for the mouth for the shocked expression.

Then for the eyes, I first widened the eyelids into a shocked expression and made the keyframe on frame 250, and then to make sure the blink animation wouldn't affect the expression I moved the blink animation on frame 260 to 265.

I then did the same thing for the lower part of the eye.

I also raised the eyebrows up on frame 250 for the surprise and then put a neutral position on frame 270.

I then went and took everything I moved and duplicated the keyframes and moved them by 8 frames to frame 258 so that it would delay for a bit.

For today because I am on my other computer I didn't know how to screen record but for my next post, I will have it.

What I'm doing tomorrow:
Tomorrow I'm going to start on the hair animation because for now, it is just static and not moving. Hair is a bit harder to figure out the placement for it because hair is a bit random, which is hard to duplicate in an animation.


Friday 21 February 2020

Day 16 - Starting on the anger expression

What I did today:
Today I started on the anger expression for the first diagonal head tilt. To convey anger in a person it is more important to get the eyes and the expression they give right. This is because anger is mostly conveyed threw the eyes of a person, the other aspects in the face help but it is mostly the eyes that give off the emotion.

I first started by adding more blink keyframes. When I was adding keyframes to the eyelids for the frowning expression I had to move some blink expressions over making it so that the last blink was on frame 133, getting rid of the 20 frameskip I had for each blink, because I wanted to keep the space, while also adding diversity to the blinks I made a blink animation right after the blink on frame 140. Doing this fixed kept the space of 20 frames from before while also keeping diversity in the number of blinks in succession. This also adds to the sadness expression because it gives the appearance that the character is holding off tears.
I added more blinks on frames 160, 180, and 200. After this screenshot, I also added one on frame 220.

Starting on the expression itself I first created a frown, but I did not make it as exaggerated as the frown on the previous expression. I also moved the edges of the mouth closer to make it look like the lips had a slight pucker.
For the eyes, I first made the lookup into the direction of the head tilt.

To animate the eyebrows I couldn't see the controls very well for them because of the hair getting in the way so to fix this I hid the hair by pressing the eye button on the side outliner of the hair part of the mesh. This doesn't delete the hair, it only hides it until I press the eye button again.
I moved the eyebrows down and rotated them to make the expression. Immediately after moving the eyebrows and eyes the anger expression is very evident. It also helps with the eyes being open very wide.
To have the expression last for a bit before changing again I duplicated every piece of the rig I had moved and moved it over by 8 frames.
Then I unhid the hair and duplicated the neutral keyframe of everything I had moved and moved the duplicates to frame 225 which is the midpoint of transition to the next head swivel. 

For the anger expression, the hardest part was getting the eyes correct for the expression, especially the eyebrows because I experienced som clipping issues where the eyebrows would go threw the body model when I moved them, which was fixed by rotating them around on different axis's.

What I'm doing tomorrow:
Tomorrow, I'll finish somethings for the anger expression that I realized I wanted to add while I was finishing this post. After that, I'll start on the next expression which will be an expression of shock or surprise.


Thursday 20 February 2020

Day 15 - Facial expression: frown

What I did today:
Today I started on the second facial expression which was a sad frown. For personal home reasons I still can't use my better computer so I worked on my laptop again today. The frown for the face is a bit harder than the smile due to there being more muscles used then in a smile, especially due to the character being a bit more cartoonish and being a bit more exaggerated in the way I am animating it.


I first started with the edge of the lips. I moved them down into a frown position and keyframed it onto frame 100 where the initial neck keyframe is for the head movement.
I then took the bottom lip and moved it out and up a bit to give the animation a bit more exaggeration of sadness and a bit more puckered look to the lips.
Just like the first head turn I moved the eyes to look over but to add to the sadness of the expression I made the eyes look down a bit as well.
The eyelids were also moved down to make it look sadder and I moved the other blinking keyframes over by 7 frames so that there is space for the delay I will add by duplicating the sad keyframes.
I duplicated the keyframes I added and made a 5 frame delay.
I then started to create the neutral keyframes for the transition to the next expression. I first did the lips on frame 150 because that is the middle transition point.
I then duplicated the neutral eye keyframe to frame 150 as well.

So far the animation is coming along pretty well, there are still some timing things that I will only be able to see on a better device and hopefully, I will have that up and running by next week, but until then the animation is coming along well and the only challenges so far have been getting the body parts in the right place to keep the animation looking smooth and natural. 

What I'm doing tomorrow:
Tomorrow I'll start on the next expression which will be anger, which is not too different from a sad expression, I will just need to incorporate the eyebrows and make the eyes give off anger because that is the key part in an angry expression.

Wednesday 19 February 2020

Day 14 - Facial expression - Smile

What I did today:
Yesterday I said I was going to move a better computer for the facial animation but I need to set up my computer again so I will move to that computer tomorrow. Today I finished the smiling expression and added more blinks for the next expression which will be a sad expression.

The model when I first loaded it up came with a small smile but I wanted to reset it to a neutral position so that's what I'm starting with. To move the smile to a neutral I moved the corners of the lips down by pressing "G". 
This is the neutral keyframe I added to frame 0. By adding this keyframe I can also duplicate it later for transitions between the expressions.
For the smile itself, I first started with the lower jaw which when we open our mouths is what moves for a smile but only slightly, so I only opened the jaw just a bit. I also put the keyframe on frame 50 because that is where the initial head spin is.
I then started on the smile itself, it took me a while to get the right position because of how tricky facial expressions are and the need to get it just right. I moved the edges of the lips into a smile form and then to make it seem like a very happy smile I moved the top lip up a bit and the bottom lip a bit down.

Next, I duplicated the keyframes one frame 0 and moved the duplicates to frame 80 where the middle of the transition to the next expression will be.

I then felt the smile needed to be wider so I made it a bit bigger and then also duplicated the keyframes and moved them to continue onto frame 57 so that the smile would stay for a bit before transitioning. I also moved the transition to the neutral face to frame 85 to lengthen the smile a bit more as well.
Finally, I added more blinking keyframes and continued with the 20 frame intervals I did before and made some keyframes on frame 100-105 and frames 120-125.

Hopefully, by tomorrow, my computer will be set up and I will be able to run Blender on that for the facial animations so that the frame rate is smoother and I can get the timing better for the animation.

What I'm doing tomorrow:
Tomorrow I'll be working on the sad face and trying to get that perfect which may be a bit more difficult because of how more muscles are used for a frown then for a smile so it may take a bit more perfecting to get the frown right.